
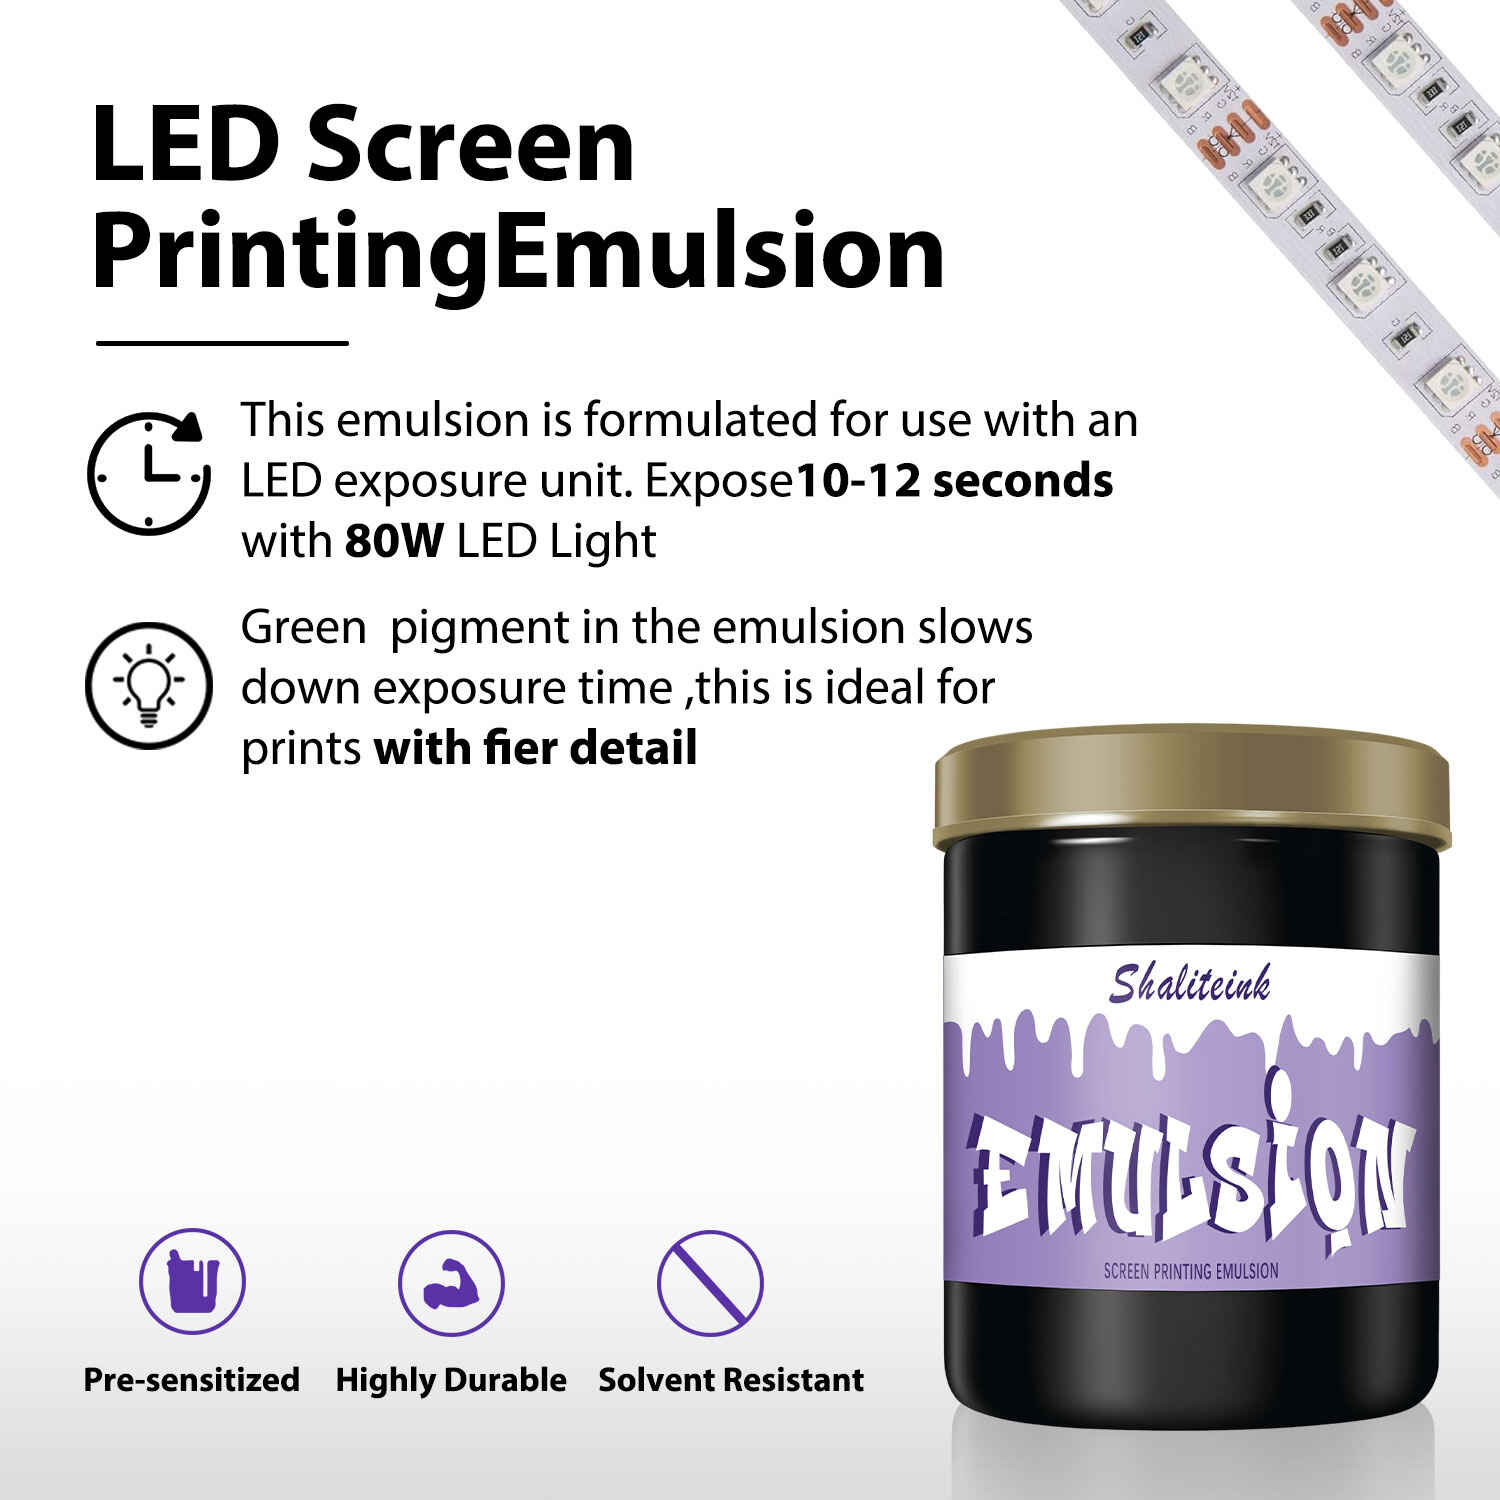
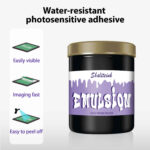
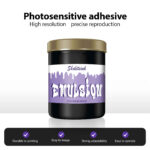
High-Resolution Photosensitive Emulsion – Add to Cart
$54.99
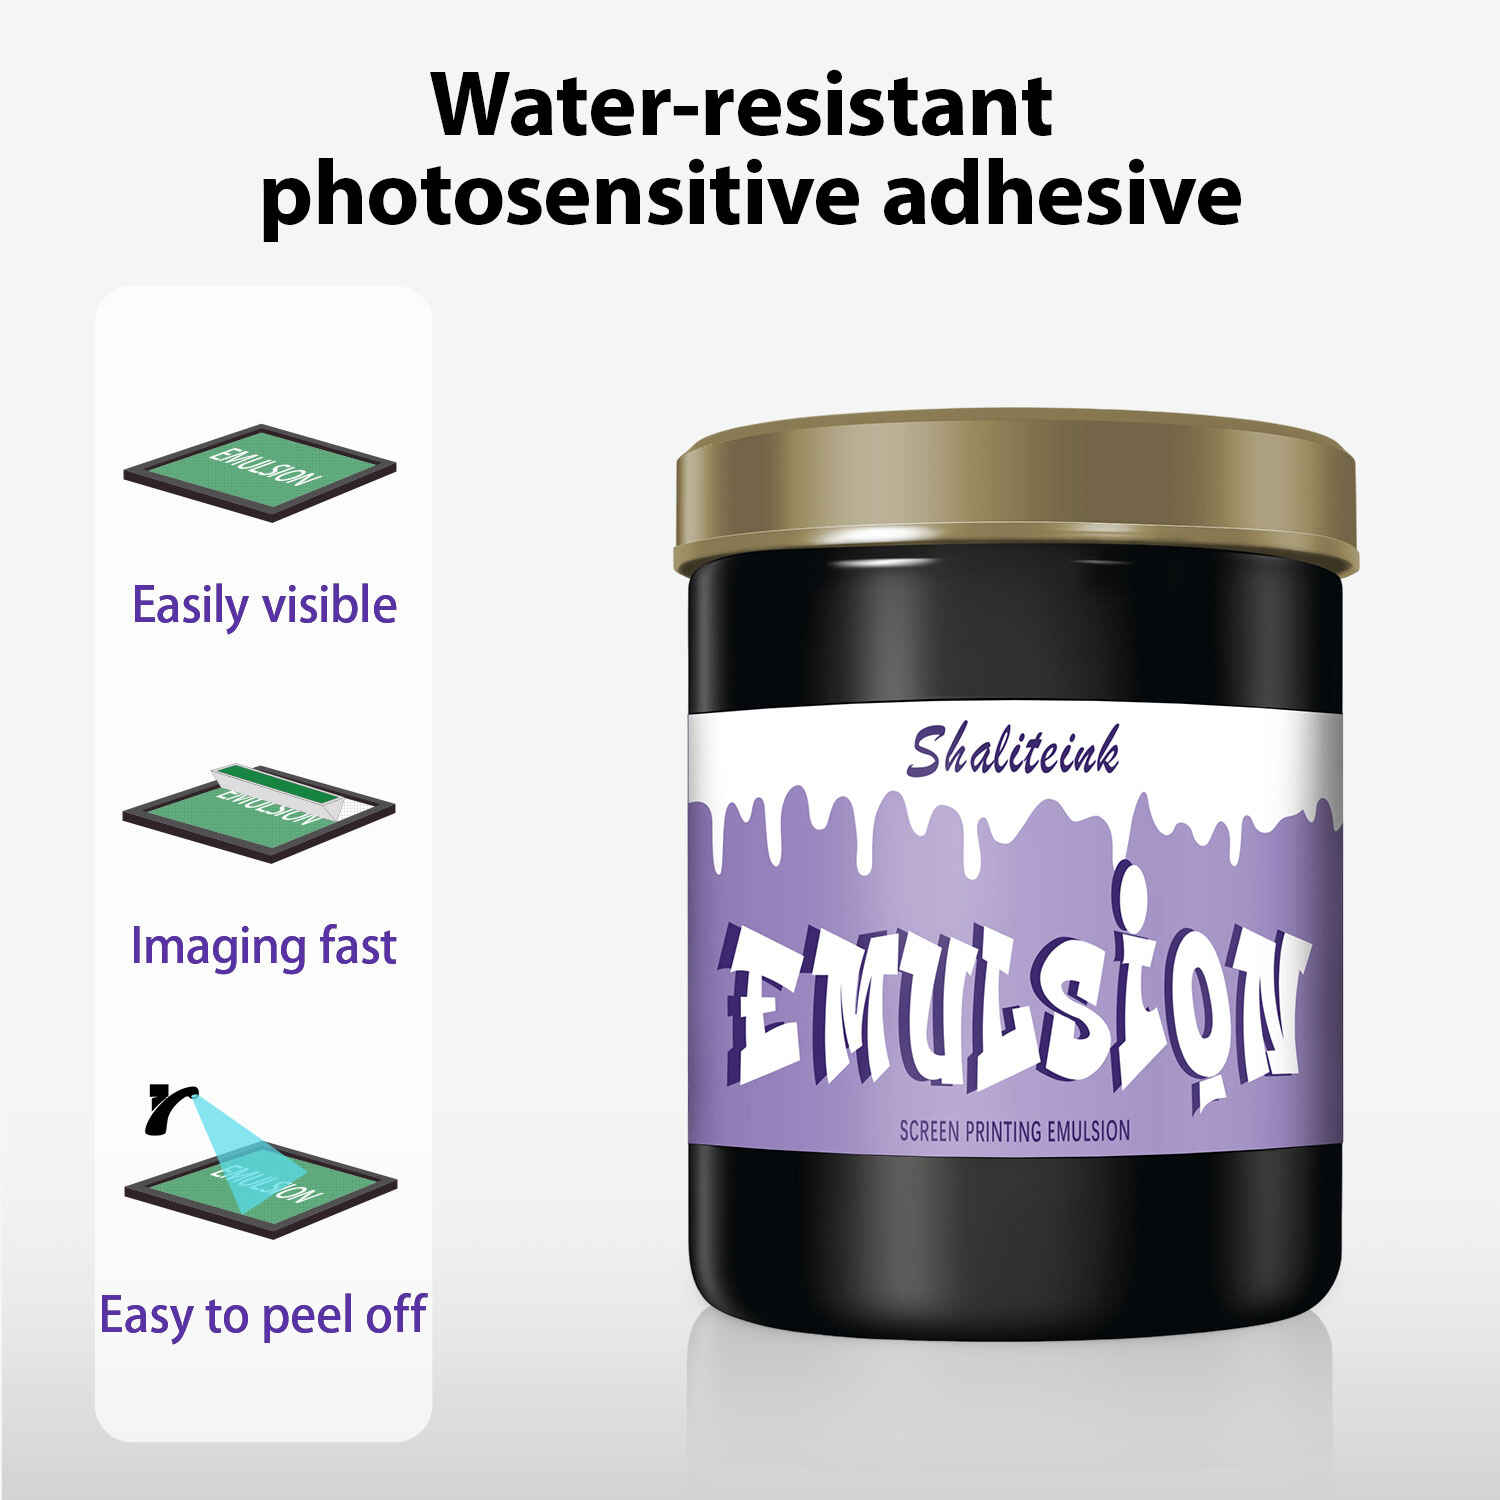
Stop losing your mind over fine lines that vanish during washout. Our High Resolution Photosensitive Emulsion is built for those “impossible” jobs where detail is everything. Its high-solids formula fills the mesh perfectly—no shrinking and no mushy edges—giving you a razor-sharp stencil that holds its own against abrasive Metallic Inks and high-volume runs. It’s the absolute difference between a shirt that looks “homemade” and one that belongs on a high-end retail shelf.
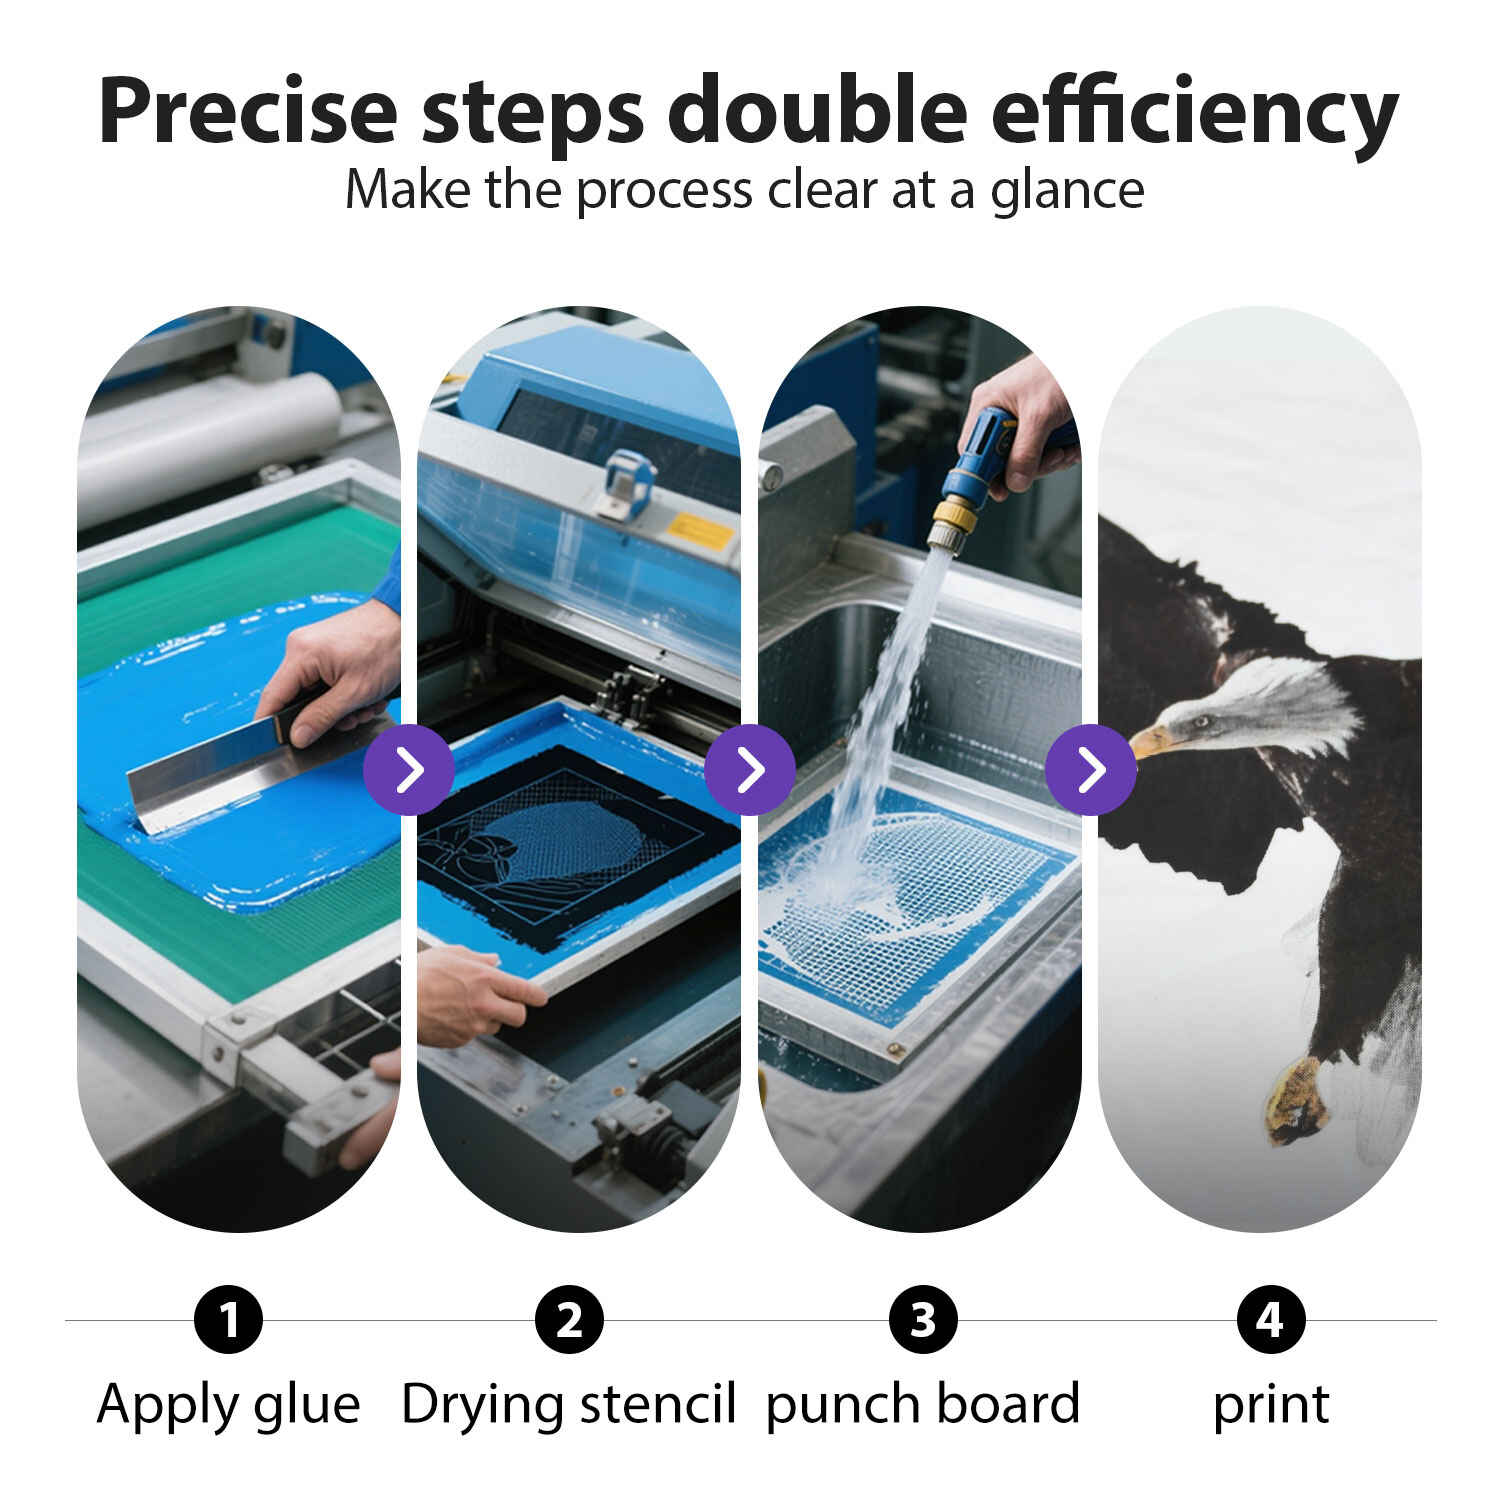
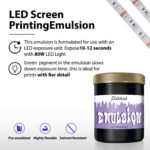
We’ve tuned this emulsion to play nice with modern LED units, so you can burn screens in seconds without sacrificing any durability. It creates a tough chemical bond that stands up to heavy Plastisol Ink but still washes away cleanly when the job is done. If you’re tired of sawtooth edges and the heartbreak of ruined screens, this is the upgrade your darkroom has been begging for.
The Stencil’s Revenge: Why Your High-Res Emulsion Matters More Than Your Morning Espresso
Let’s be real for a second. It’s 7:00 AM. The shop smells like a mix of scorched cotton and that weirdly sweet scent of Plastisol Ink. I’m on my third cup of coffee and I’m staring at a job that’s supposed to ship by noon.
A few years back a client walked in—one of those high-fashion guys from the city who thinks a “distressed vintage look” means lines so thin they’d make a spider jealous. He wanted a design etched with details that looked like they were whispered onto the fabric by a ghost. We’re talking lines thinner than a hair on a fresh baguette.
I thought I could cheat. I used some bargain-bin emulsion I found in the back of the cabinet. Big mistake. By the tenth shirt the stencil started to crumble like a stale croissant. The fine lines turned into blobs and my “ghostly” design started looking like a mud puddle. I didn’t just lose money yet I lost my pride too.
If you’re sick of watching your profits go down the drain along with your emulsion during washout then listen up. I’ve spent twenty years getting Shaliteink Plastisol Ink under my fingernails and I’m about to give you the “no-fluff” truth about stencils.
1. This “Magic Goo” is Actually the Soul of Your Shop
People call it “emulsion.” I call it the gatekeeper. You can buy the fanciest M&R automatic press in the world but if your stencil is garbage then your print is garbage. Period.
Essentially Photosensitive Emulsion is a liquid that hates light. When UV hits it then it turns into a rock-hard plastic wall. But not all “walls” are built the same. Standard emulsions are like building with plywood—fine for a shed but not for a cathedral.
When you move up to High Resolution Photosensitive Emulsion you’re building with reinforced concrete. These formulas have a high “solids content.” While cheap stuff is mostly water that evaporates and leaves a thin shrunken film so the high-res stuff stays thick and proud. It fills the gaps in the mesh and gives you a “knife-edge” that tells the ink exactly where to go.
2. The Math of the Mesh: Don’t Bring a Broom to a Knife Fight
I see it every week. A guy tries to print a 65-line halftone on a 110-mesh screen. Mon Dieu it’s painful to watch. It’s like trying to draw a detailed portrait with a push-broom. It just doesn’t work.
If you want to use High Resolution Photosensitive Emulsion to its full potential then you have to talk about mesh counts.
| Job Type | Recommended Mesh Count | Why? |
| Big Block Letters | 110 – 156 | High ink deposit but low detail needed. |
| Standard Logos | 160 – 200 | The “sweet spot” for most Plastisol Ink. |
| Fine Lines/Halftones | 230 – 305 | Necessary for sharp edges and thin ink layers. |
| Ultra-Fine/CMYK | 355+ | Only for the bravest printers using Plastisol CMYK Ink. |
Then you’ve got the 355+ mesh. That’s no-man’s land. Only the absolute maniacs go there. But listen if you want that high-def look then you’ve gotta climb into the 230 to 355 range. The threads are skinnier and the holes are tiny. It gives the emulsion more tiny teeth to bite into. When you do it right then people touch the shirt and ask if it’s a heat transfer. I just laugh. “No buddy,” I say “that’s just a screen done right.”
3. The Chemical Handshake: Will Your Ink and Emulsion Divorce?
Think of your ink and emulsion like a marriage. Some are a match made in heaven but others will fight until the whole thing ends in a messy expensive divorce on your press.
If you’re pushing Metallic Screen Printing Ink then you’re basically running liquid sandpaper through your screen. Those tiny flakes of metal are abrasive and they will chew through a weak stencil in minutes. You need a setup that can take a punch.
Then there’s the “eco-friendly” crowd. If you’re using PVC Free Plastisol Ink then you’ve noticed it feels different. It’s creamier yet it can be finicky. It needs a stencil that is perfectly cured or the chemicals in the ink might soften the emulsion. I always tell people: if you’re spending the money on premium Gold Screen Printing Ink Plastisol then don’t be a cheapskate on the emulsion.
4. The Darkroom Ritual: Why “Almost Dry” is a Lie
Look I know your “darkroom” might just be a closet with a yellow bug light and a dream. But if you want professional results then you’ve got to act like a scientist.
An under-exposed screen is a disaster waiting to happen. It’s a ticking time bomb in your darkroom. Sure it looks okay when you’re washing it out but get fifty shirts deep and that Plastisol Ink starts chewing through the stencil from the inside.
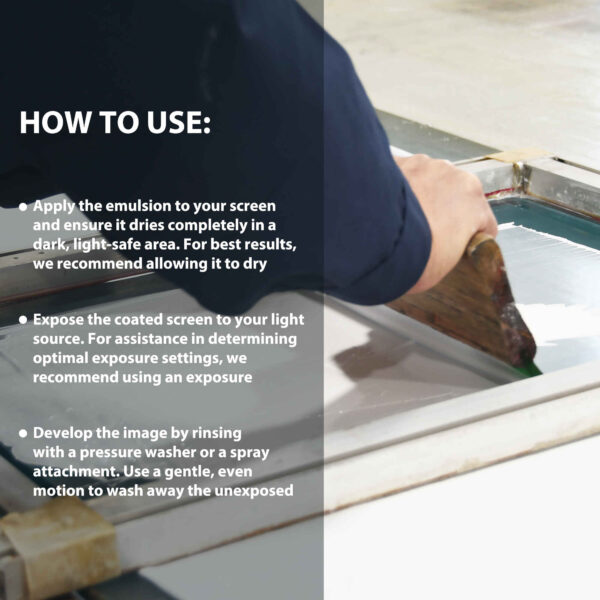
I ditched the old bulbs for an LED unit and I never looked back. I went from five-minute burns to fifteen seconds. It’s a total game-changer. It’s fast and it hits the exact UV spectrum (365-405nm) that Photosensitive Emulsion loves. Just don’t be lazy—use a step-wedge test if you’re using a Screen Printing Ink Kit.
5. Reclaiming: The Part Everyone Hates (But I Love)
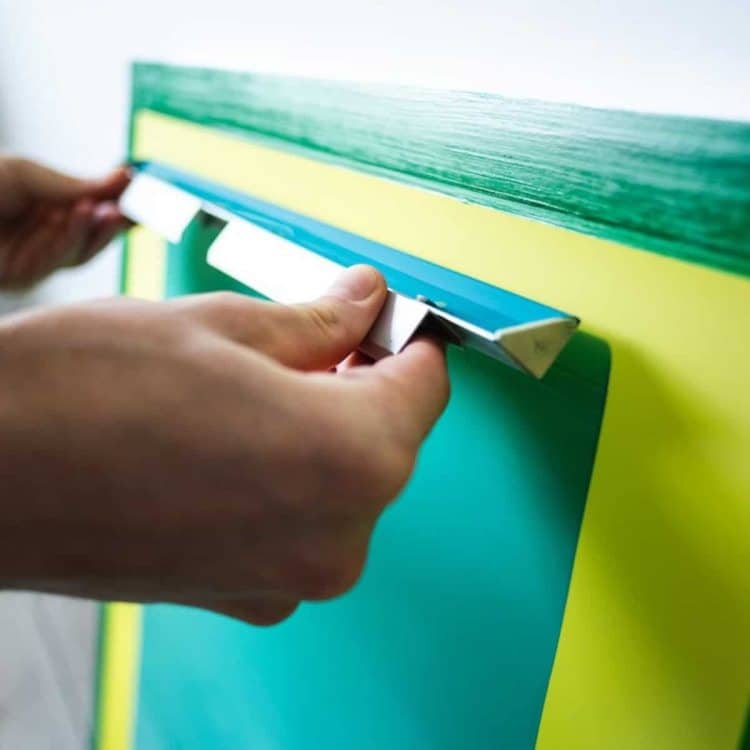
Why do I love reclaiming? Because it’s where you see the quality of your work. A good High Resolution Photosensitive Emulsion should come off cleanly if you use the right chemicals.
The Golden Warning: Never ever let your emulsion remover dry on the screen. I did this once back in ’98. I got a phone call and I walked away. When I came back the emulsion had “locked” into the mesh. It was basically permanent so I had to throw the whole frame away. C’est la vie.
Use a pressure washer. It’s the only way to blast the “ghost images” out of the mesh so your next job with White PVC Free NB Screen Printing Ink doesn’t have shadows from the last one.
6. Troubleshooting Like a Pro
| Symptom | Diagnosis | The Cure |
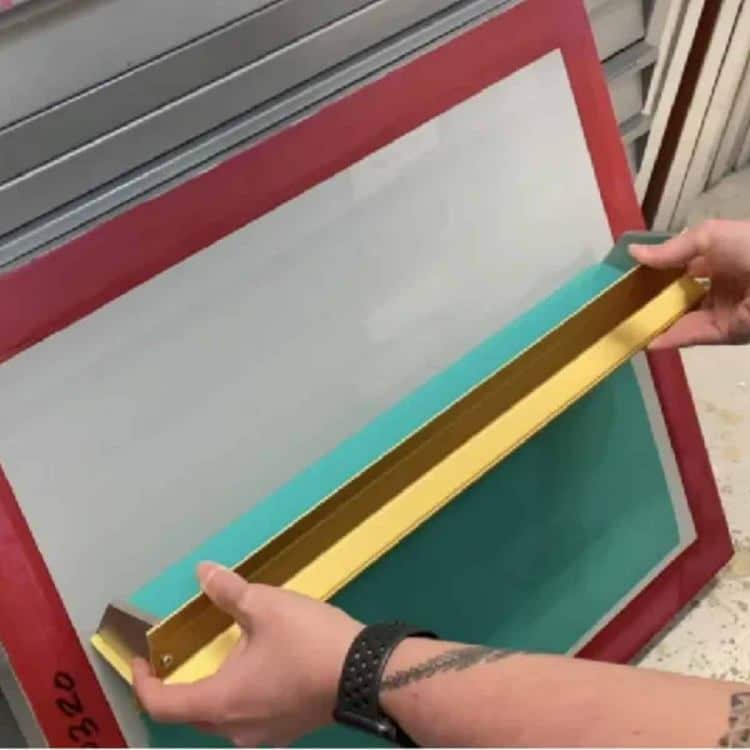
| “Sawtooth” Edges | Emulsion is too thin or mesh is too low. | Use a High Resolution Emulsion and coat 2-1. |
| Tiny “Pinholes” | Dust in the darkroom or air bubbles. | Clean your glass and let mixed emulsion sit for 2 hours. |
| Stencil breaks on press | Under-exposure. | Run a step-wedge test and increase light time. |
| Ink won’t clear the screen | Stencil is too thick. | Use a higher mesh count or fewer coats. |
7. Frequently Asked Questions (The Real Talk)
Q: Do I really need a darkroom?
A: You need “safe” light. If your garage has windows then the sun is exposing your screens before you even touch them. Don’t fight physics.
Q: How do I get Silver Screen Printing Ink to look like real metal?
A: It’s all about the stencil. A sharp high-res stencil allows the metallic flakes to lay down flat like shingles on a roof. If the stencil is mushy then the flakes land sideways and the “shine” dies. You lose the magic.
Q: Why does my NB Printing Ink Beginner Kit feel different?
A: Because it’s “Non-Bleed.” It’s designed to stop dye migration on polyester. These inks are thicker so they need a sturdy stencil to keep them in check.
Q: Why does my screen feel like a used lollipop even after drying for three hours?
A: Humidity is the silent killer of a good stencil. If the air in your shop feels like soup, your emulsion won’t ever truly dry—it just stays “tacky.” If it’s not bone-dry when you hit it with UV light, the chemistry won’t cross-link properly. You’ll end up with a weird “scum” that blocks your Plastisol Ink from hitting the shirt. I always tell folks: get a cheap dehumidifier and keep your darkroom under 40% humidity. If you don’t, you’re just inviting heartbreak into your production line.
Q: Can I use that half-empty bucket of emulsion I found in the back of the cabinet?
A: Only if you like wasting money and ruined garments. If it’s a dual-cure (the kind where you have to mix in that little bottle of Diazo), it usually has a “pot life” of about a month or two. After that, the light-sensitive chemicals just get tired and won’t hold onto the mesh. However, if you’re using a pre-sensitized photopolymer from a professional Screen Printing Ink Shop, it can last up to a year. My rule of thumb? If it smells like a swamp or has the consistency of chunky cottage cheese, throw it out. Your reputation is worth way more than a $60 bucket of expired goo.
Wrap it Up: The Final Pull
Look I’ve watched trends come and go for two decades. People always say digital is going to kill screen printing but they’re wrong. There’s something you can’t replicate with a printer—that tactile and heavy-duty soul of a real shirt.
But that “soul” starts in the darkroom. It starts with a clean screen and a coat of High Resolution Photosensitive Emulsion.
Next time you’re tempted to buy the cheap stuff then think about that high-fashion client. Think about those “ghost etched” lines. Do you want to be the guy who says “I can’t do that” or the guy who hands over a shirt that looks like a masterpiece?
The choice is yours. Now go clean your scoop coater. It’s filthy.
Only logged in customers who have purchased this product may leave a review.
Related products
Buy Premium Dual-Cure Silk Screen Printing Photosensitive Emulsion
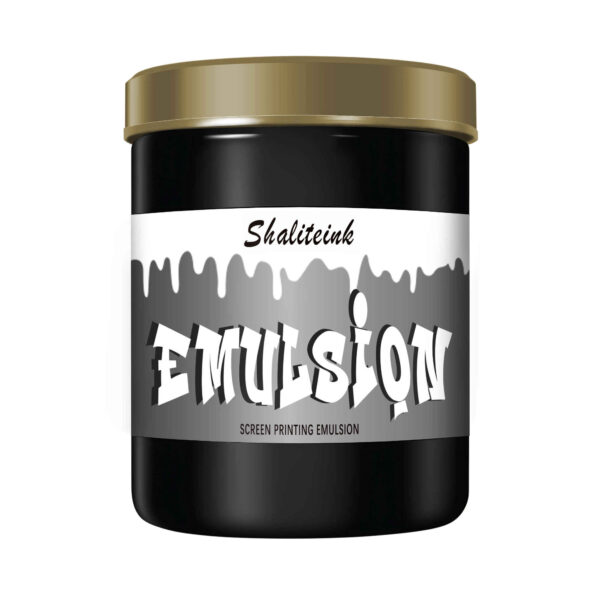
Stop crossing your fingers every time you head to the washout booth. Most "entry-level" emulsions have the patience of a toddler—one second too long under the light and your fine details are toast. Our Premium Dual Cure Emulsion gives you the "breathing room" you’ve been praying for. By mixing a high-solids base with a hit of Diazo, you get a stencil that captures razor-sharp halftones and stays tough through thousands of squeegee passes without breaking a sweat.
Whether you’re pushing thick standard Plastisol or tricky Specialty Effects, this stuff stays rigid and crisp until the job is done. It’s essentially an insurance policy for your shop—saving you from those frustrating 2:00 AM re-burns and wasted garments. It coats smooth, dries fast, and reclaims without a fight, letting you spend less time scrubbing screens and more time actually making money.
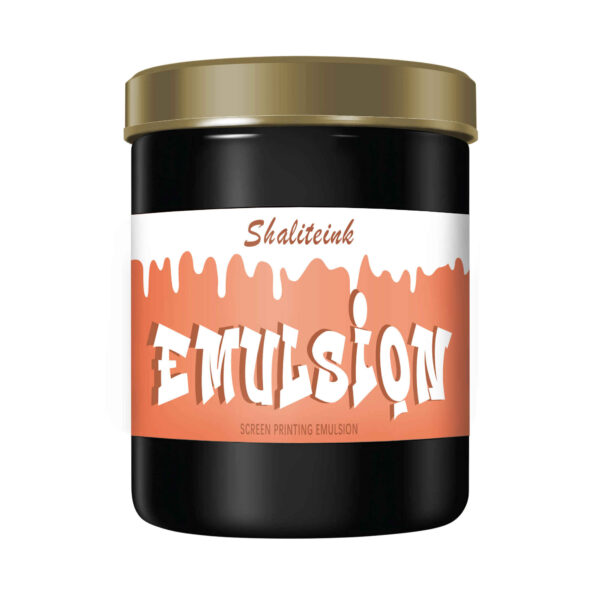
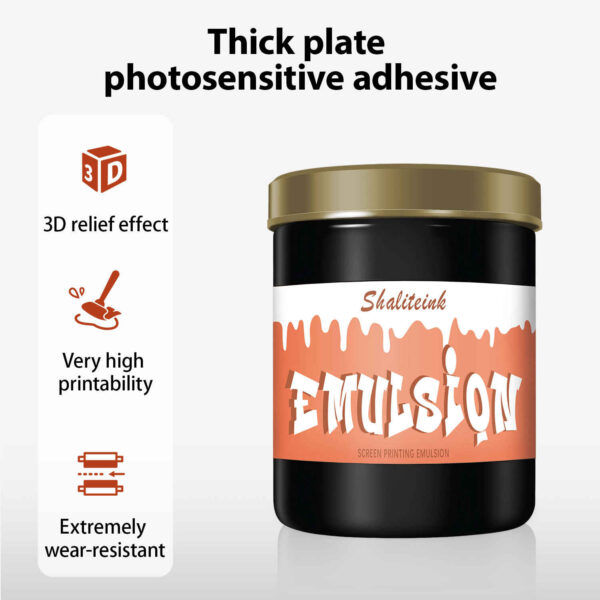
High Density Photosensitive Emulsion – Pick Your Flavors
Ever wonder how the pros get those crisp 3D designs to pop off a t-shirt? It’s not magic but it is the science behind our Shaliteink High Density Photosensitive Emulsion. I’ve spent twenty years in the darkroom. I’ve engineered this formula for creators who refuse to settle for flat and boring prints. With an ultra-high solids content it stays exactly where you put it and it won't shrink away as it dries. It works. You get a stencil that acts like a solid brick wall and it allows you to pile on the ink for that professional "stand-off" look every single time.
You don't need a massive factory for world-class results because I've brought this industrial tech to your creative space. It's tough. Our emulsion is incredibly forgiving yet it delivers the same durability that high-end global brands demand. It is fully compliant with modern safety standards so it's safe for you and your customers. Just pair it with our PVC Free Plastisol Ink to create vibrant and non-toxic garments that actually last. Stop wasting time. Start building 3D prints that people can feel.
 EN
EN  DE
DE  ES
ES  PT
PT  JA
JA
Reviews
Clear filtersThere are no reviews yet.