
Blog
Common Screen Printing Mistakes Beginners Must Avoid
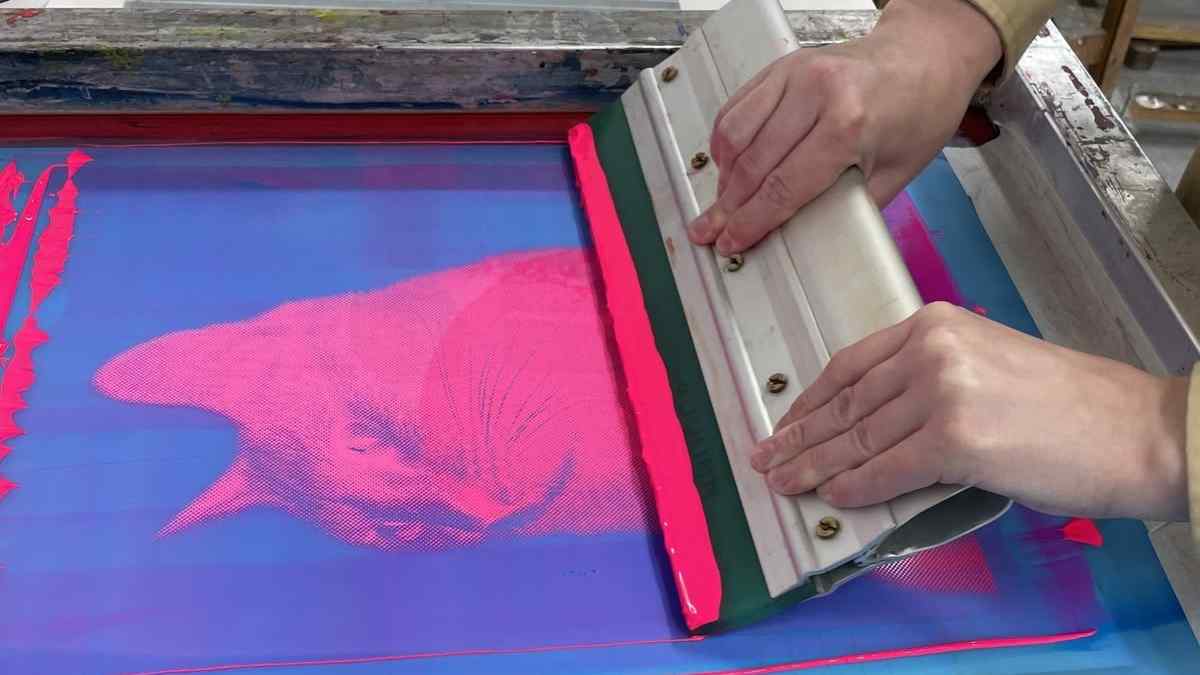
Table of Contents
The fastest way to stop ruining t-shirts and start making money is to master three things: mesh selection, exposure timing, and the final cure. If you get these right, your prints won’t wash off, your details will stay sharp, and you’ll stop throwing away “blanks” that eat into your profit. At Shaliteink, we’ve seen that using a high-quality plastisol ink is only half the battle; the other half is avoiding the technical traps that catch every beginner.
Why Most Beginners Struggle (And How We Fix It)
We know the feeling of pulling a squeegee and seeing a blurry mess. It’s frustrating. But the benefit of fixing these mistakes early is huge: you’ll save about 15% in material waste and build a brand that people actually trust. We’re here as solution experts to walk you through the “why” and “how” of professional printing.
The Foundation: Choosing the Right Mesh
One of the biggest mistakes we see is using the same screen for everything. If you’re printing a big, bold logo, you need a lower mesh count. If you’re doing fine lines or halftones, you need a higher count.
- 110 Mesh: Best for heavy plastisol ink deposits and white underbases.
- 160-230 Mesh: The “sweet spot” for most detailed designs and eco-friendly pvc free plastisol ink.
- 305+ Mesh: Reserved for ultra-fine details and high-end CMYK process jobs.
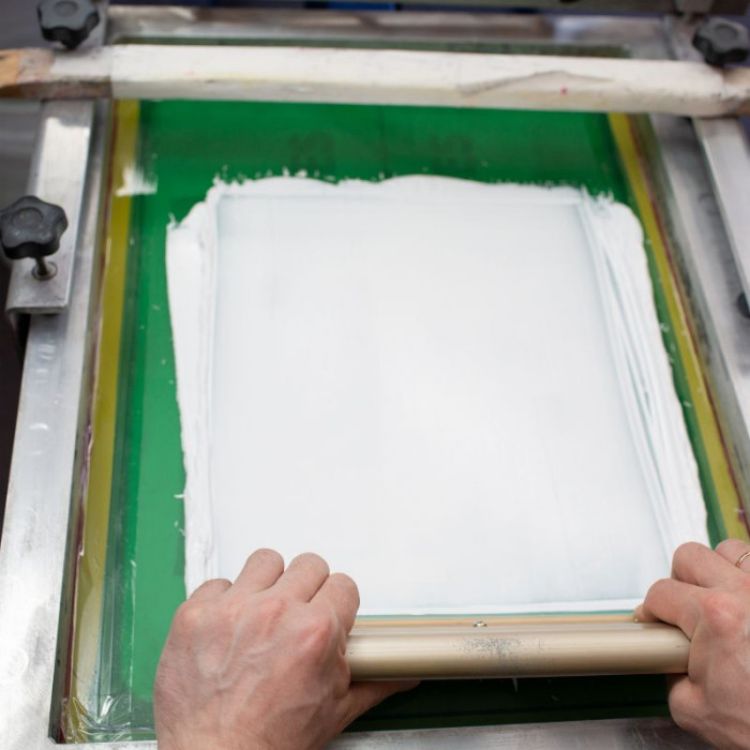
Best Practice: Always degrease your mesh before coating. Even brand-new screens have oils from the factory that will cause your emulsion to “fish-eye” or peel off mid-print.
Mistake #1: Messing Up the Stencil (The Exposure Trap)
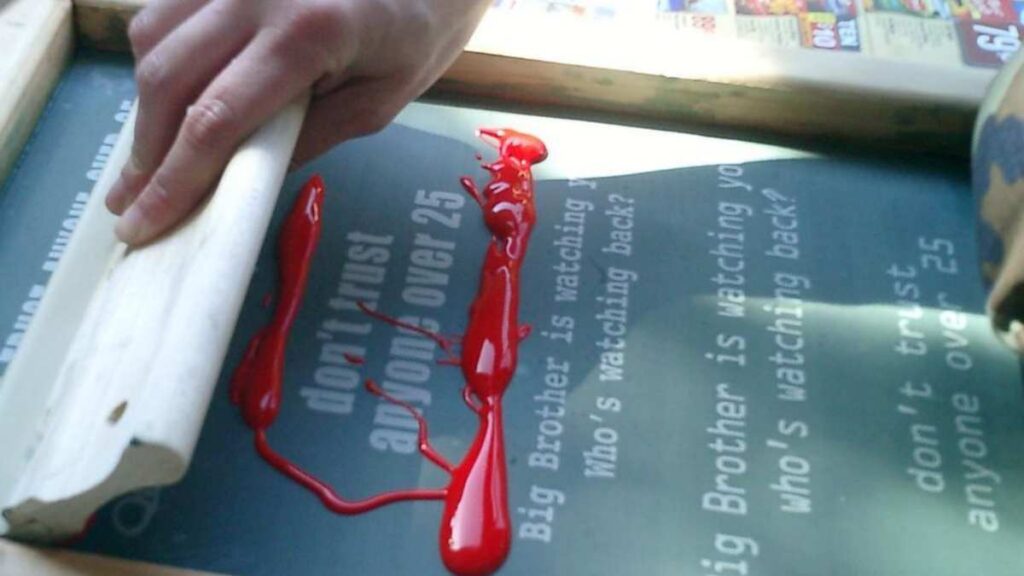
Your image is only as good as your stencil. Most beginners either under-expose or over-expose their screens.
- Under-exposure: The photosensitive emulsion isn’t fully hardened. When you go to wash out your image, the edges become “slimey” and break down.
- Over-exposure: The light has “wrapped around” your film, making it impossible to wash out your fine lines.
How to Solve It
We recommend using an exposure calculator. It’s a small piece of film with different shades that tells you exactly how many seconds your specific light source needs. Since different emulsions have different sensitivities, checking the specs for your photosensitive emulsion is non-negotiable.
Mistake #2: The “Wash-Out” Nightmare (Curing Failures)
Nothing kills a brand faster than a shirt that fades after one wash. Beginners often confuse “drying” with “curing.”
- Drying: The ink is dry to the touch (usually happens at 180°F – 240°F).
- Curing: The ink has chemically bonded to the fabric. For Shaliteink Plastisol Ink, this usually happens at 320°F (160°C).
Curing Temperature Guide for 2026
| Fabric Type | Ink Type | Temp Target | Why? |
| 100% Cotton | Standard Plastisol | 320°F | Maximum bond to natural fibers. |
| Polyester | Low-Bleed Ink | 280°F-290°F | Prevents “dye migration” from the shirt. |
| Blends | pvc free plastisol ink | 300°F-320°F | Eco-friendly bond for sensitive fabrics. |
Best Practice: Invest in a laser temperature gun. Don’t guess. Point the gun at the ink as it comes out of the dryer or under the flash unit to ensure it hit the “dwell time” needed for a full cure.
Mistake #3: Ignoring “Special” Ink Requirements
Sometimes, beginners try to print metallic screen printing ink or puff screen printing ink plastisol exactly like standard ink. This is a mistake.
- Metallic Ink: These inks contain actual flakes. If your mesh is too tight (high mesh count), the flakes will clog the screen. We suggest staying around 86-110 mesh for metallic screen printing ink.
- Puff Ink: The “puff” effect happens during the heat cure. If you over-heat it, the puff will collapse and look wrinkled. If you under-heat it, it won’t rise at all.
How to Start the Right Way
If you are just starting out, we always suggest beginning with a screen printing ink kit. Why? Because these kits are curated to work together. You get the right ink viscosity and the right colors to learn the mechanics without the guesswork.
Our Step-by-Step Recovery Plan
- Level Your Press: Make sure your “off-contact” (the gap between the screen and the shirt) is about the thickness of a nickel.
- Stir Your Ink: Plastisol ink is thick. Stirring it “wakes it up” and makes it creamy and easier to print.
- Perform a Stretch Test: Once cured, pull the fabric. If the ink cracks, it’s under-cured. If it stretches with the fabric and returns to shape, you nailed it.
FAQs: What You Really Want to Know
Q1. Why is my white ink sticking to the bottom of the screen?
This is usually caused by having zero “off-contact.” If the screen doesn’t “snap” away from the shirt immediately after the squeegee pass, the ink will stay in the mesh instead of on the shirt.
Q2. Can I use a regular iron to cure my shirts?
Technically, yes, but we don’t recommend it for selling. An iron doesn’t provide consistent heat across the whole design. A heat press or a small conveyor dryer is the only way to guarantee a professional cure.
Q3. Is pvc free plastisol ink harder to use?
Not at all! It prints very similarly to standard ink but is much better for the environment and safer for printing baby clothes or organic cotton.
Q4. How do I get those 3D raised prints?
You’ll want to use a specialty additive or a specific puff screen printing ink plastisol. Just remember to watch your heat—too much heat ruins the 3D effect!
Q5. Do I really need a screen printing ink kit?
You don’t need one, but for a C-end hobbyist or a new shop, it prevents the mistake of buying incompatible chemicals. It’s the safest “all-in-one” start.