
ブログ
How to Store Plastisol Ink Properly (Avoid Waste & Drying)
目次
Let’s be honest: keeping your shop supplies in good shape is exactly the same as keeping cash in your pocket. If you want your ink to stay usable for the long haul, you really only need to watch out for three big things: the temperature, the light, and how well that lid is sealed. In our experience here at Shaliteink, we’ve found the “sweet spot” is a room that stays between 65°F and 80°F. If the room gets much hotter than that, the ink starts to thicken up and will basically ruin itself before you even get a chance to put it on a screen.
Staying in this range is the best way to avoid gelling, which happens when the ink starts to bake inside the bucket. This keeps your プラスチゾルインク smooth and prevents dust from creating those tiny bumps on your shirts that we call ink zits. Following these basics can help a shop cut down annual waste by about 15%.
で シャリテインク, we spend a lot of time talking to printers who are frustrated because their white ink feels like a brick or their colors look flat. Most of the time it is not actually a problem with the ink itself. It is usually just because the bucket was sitting in the wrong spot on a shelf for three months.
Why your storage habits are costing you money
We have all seen it happen in a busy shop. A big shipment of PVCフリープラスチゾールインク arrives, and someone leaves a bucket right next to the conveyor dryer because it was convenient. Give it a few days in a hot spot like that and you’ll notice the ink getting thick and sluggish. This happens because plastisol is really just a bunch of particles floating around in a liquid plasticizer. When things get too warm, those particles start soaking up all that liquid.
If you leave your ink in temperatures over 90°F for too long, it starts to gel. Once that happens, the chemical change is permanent and you cannot really get it back to its original state through a screen.
It is also worth thinking about light exposure. If you are using specialty メタリックスクリーン印刷インク, constant light can mess with the pigments over time. We suggest keeping your inventory in a dark corner or a cabinet.
A quick tip from our shop: If you have been using a bucket on a press all day near a flash unit, let it sit out at room temperature for an hour before you hammer the lid back on. Taking this small step keeps water from condensing on the underside of the lid—trust us, you don’t want that. Moisture is a real nightmare because it can actually change how the ink reacts once you finally try to print with it later.
Setting up your storage space correctly
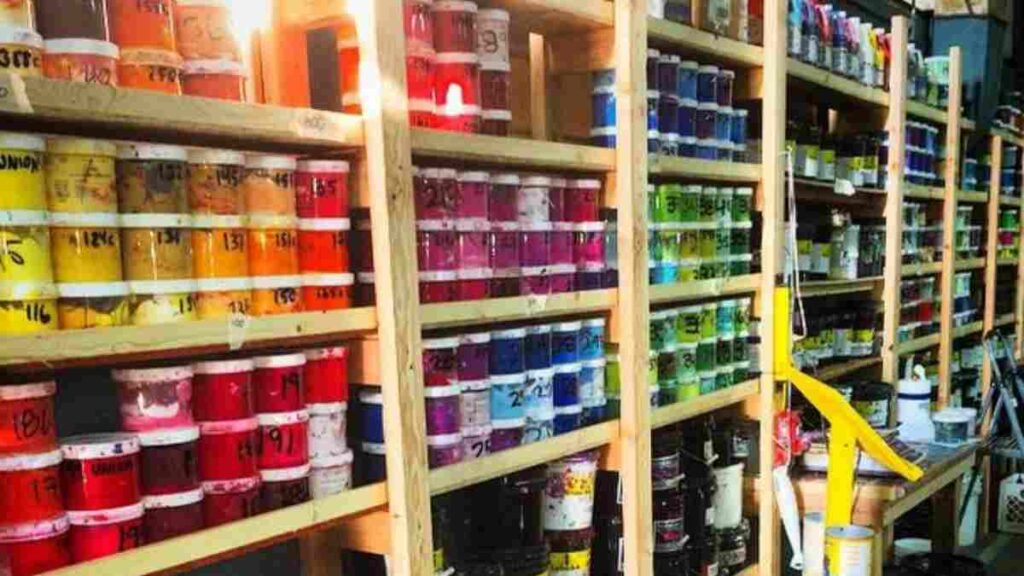
If you’ve just got buckets piled up on a bare concrete warehouse floor, you should probably rethink that. It’s usually time to make some changes and get organized. Concrete is tricky because it sucks up moisture and its temperature swings wildly depending on the season. It is much better to get everything onto shelves where the air can move.
Actually, you really want a room with decent airflow so you don’t end up with “hot spots” in the corners that cook your ink while the rest of the room feels fine. For tools, we always stick with plastic or metal spatulas. Wood seems fine at first, but it can hold moisture or leave tiny splinters in your screen printing ink shop supplies that will cause clogs later.

The problem with dirty lids
We see this in almost every shop we visit. A printer grabs some プラスチゾールCMYKインク, pulls out what they need, and then slams the lid back on while the rim is still covered in wet ink.
This is a big mistake that leads to a lot of waste. When that ink dries on the rim, the lid cannot make an airtight seal anymore. This lets in dust and lint. Even worse, the next time you open the bucket, little dried pieces of crusty ink fall right into the fresh batch. If you are printing with a high mesh count, those little bits will clog your screen and ruin your day.
How we handle the dirty rim problem:
Every time you finish with a bucket, take a clean rag and wipe the inner and outer rim completely. It takes ten seconds but saves you a lot of headache. We also find that a rubber mallet works way better than a standard hammer. It lets you close the bucket evenly without accidentally cracking the plastic. Another trick we use is putting a little bit of plastic wrap over the opening before the lid goes on. It keeps the seal tight and keeps the inside of the lid from getting messy.
Managing your inventory with the fifo method
We always tell people to use the first in first out method. Even though plastisol does not dry out like water based ink, the ingredients can separate over time. Grab a permanent marker and date every bucket the day it arrives. Then, just make sure the oldest stuff is at the front of the shelf. That way, you’re always using your oldest stock first and your screen printing ink wholesale supplies stay fresh.
Lawson Screen & Digital mentions that while plastisol is shelf stable, long term separation can lead to a “false body” where the ink looks thick but behaves differently under the squeegee.

Dealing with ink that feels bad
Before you assume a bucket of ink is ruined because it feels too thick, check the temperature of your room. When it’s freezing out, ink sitting in a cold warehouse can get as hard as a brick. If that happens, don’t sweat it—the ink is just cold, not dead.
If the ink is cold, bring it into a warmer area for about 24 hours. After that, you’ll need to give it a serious workout with a spatula. Since plastisol thins out with movement, you’ve got to put some real muscle into that stir. Actually, if you have a drill mixer, save your arms and use that instead.
On the flip side, if you stir it for ten minutes and it still looks like chunky cottage cheese, that’s a bad sign. It usually means the ink got too hot at some point and started to cure. At that point, you cannot fix it with reducer or more stirring. The ink is basically cooked.
Why you should not mix used and new ink
One of the fastest ways to ruin a hundred dollar gallon of ink is to scrape the leftovers from a screen back into the original bucket. That used ink is full of shirt lint, maybe some pallet adhesive, and definitely some dust from the shop.
We suggest keeping a separate container for these leftovers. Some people call it a goop bucket. You can use this ink for test prints or for mixing your own shop black. Keeping your main supply of ink clean is the best way to ensure your production runs go smoothly.
Common questions about ink storage
Q1: Can I put my ink in the fridge?
We really do not recommend it. Cold temperatures make the ink very hard to stir and it does not actually help it last longer. Plus, when you take it out, you might get moisture inside the bucket from condensation. A simple cool room is much better.
Q2: How long does this stuff actually last?
If you keep the lid tight and the temperature stable, our products can last five to seven years. We have seen people use ink that was ten years old, though you might need to add a little bit of reducer and stir it for a long time to get the texture back.
Q3: Why is there oil on top of my ink?
That is just the plasticizer separating from the resin. It happens when ink sits for a few months. Do not pour that oil out. Just stir it back into the mixture until it is smooth again.
Q4: Does humidity matter?
Humidity isn’t the biggest deal, at least not compared to heat. However, if your shop feels like a sauna, moisture can actually sneak into the bucket. You’ll usually figure this out the hard way when tiny bubbles start popping up right as you’re curing the print. Keeping things relatively dry is always your best bet.
Q5: What about storing emulsion?
Things like photosensitive emulsion are much more sensitive than ink. You should store those in a dark cabinet that never gets near freezing temperatures. If emulsion freezes once, it is usually garbage.
Final thoughts
Storing your ink the right way is not just about being organized. It is about protecting your money. Think about it this way: every time you toss out a half-bucket of gelled ink, you’re basically throwing away the profit from about 20 shirts. It adds up fast. If you just handle the basics and treat your supplies with a little respect, they’ll be ready to go the second you have a job to finish.