
Blog
Cómo empezar a imprimir en serigrafía en casa con un kit sencillo.

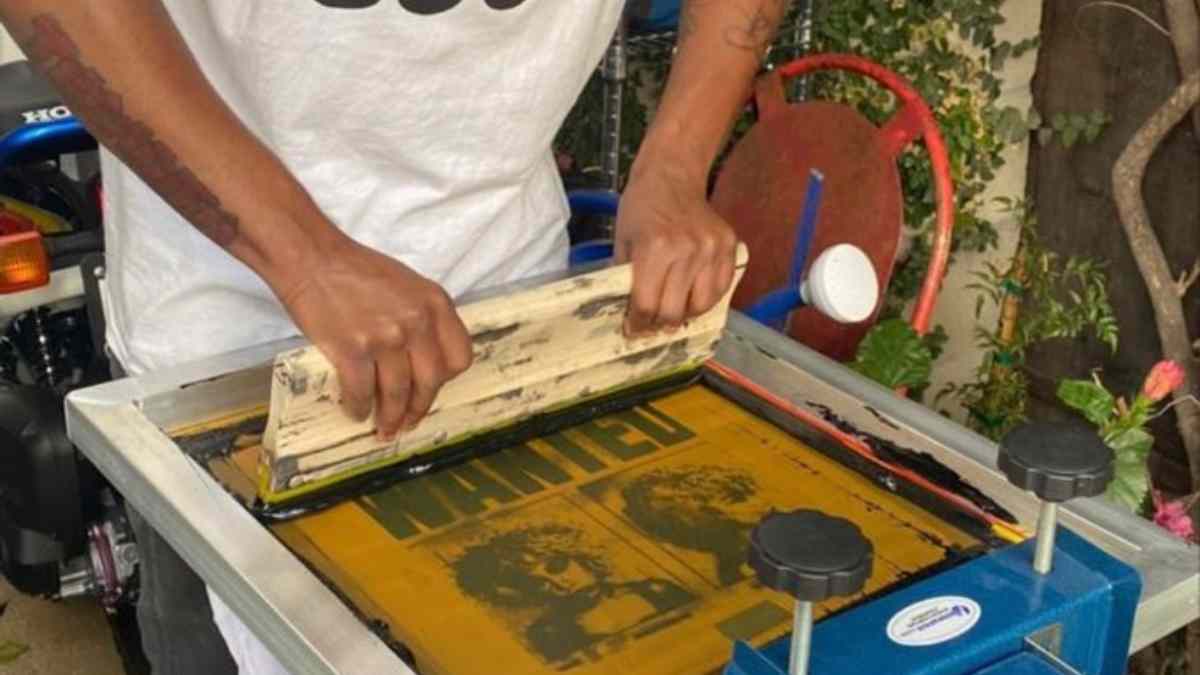
Tabla de contenido
Aclaremos algunas dudas sobre la serigrafía doméstica. Mucha gente se imagina una enorme máquina industrial que ocupa todo el garaje cuando oye hablar de serigrafía. Les preocupan las manchas de tinta en la alfombra y gastar una fortuna en equipos que nunca se amortizan. Pero, sinceramente, no es nada de eso.
He pasado la última década en imprentas rodeado de equipos que cuestan más que una casa. Aun así, sigo pensando que nada supera la imagen de alguien imprimiendo un trabajo limpio y nítido en la mesa de su cocina con un equipo básico. Para mí, sigue siendo un truco de magia cada vez. En esta guía quiero ir al grano y dejar de lado el lenguaje corporativo. Te mostraré cómo empezar en casa y por qué. Tinta plastisol En realidad es tu mejor amigo y te enseña cómo evitar los errores que suelen terminar con una camisa arruinada y un desastre en tu cuarto de lavado.
Empieza poco a poco para aprender rápido.
En internet verás gente que dice que necesitas una imprenta de cuatro colores y una secadora de cinta transportadora enorme solo para empezar. Intentar aprender con una imprenta profesional de gran tamaño es como intentar dar tu primera clase de conducir en un coche deportivo de alta gama. Es demasiado para manejarlo todo a la vez y probablemente te frustrarás.
Trabajar con un kit de serigrafía para principiantes te enseña la verdadera esencia de este arte. Aprendes a sentir cómo fluye la tinta y cuánta fuerza necesitas aplicar. Empiezas a comprender cómo funciona la malla bajo presión, un conocimiento que no se puede obtener con una máquina.
Elementos esenciales del kit
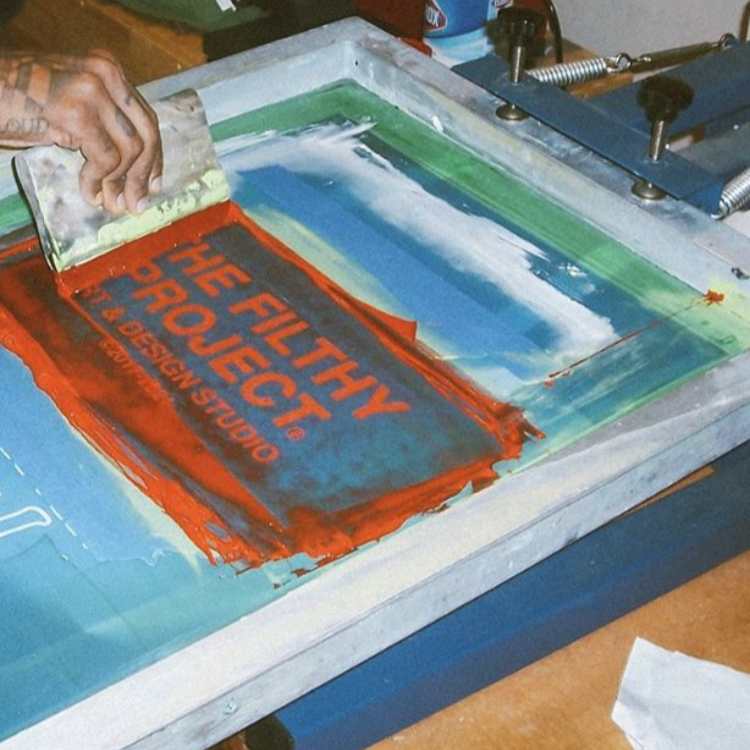
Un buen Kit de iniciación para serigrafía No es complicado. Normalmente se reduce a unas pocas cosas que realmente importan.
| La herramienta | Lo que hace | La realidad |
| La pantalla | Aquí se guarda la plantilla de diseño. | Opta por una malla de 110, ya que deja pasar suficiente tinta sin que resulte un problema. |
| El limpiacristales | Empuja la tinta a través de los agujeros. | Busca uno que se sienta sólido en tu mano y que tenga una rigidez media es lo mejor. |
| Emulsión | El líquido que crea el diseño. | Utilice emulsión fotosensible y manténgala alejada de la luz. |
| La tinta | El color real de la tela. | Siempre recomiendo empezar con la tinta plastisol Shaliteink. |
La trampa de tinta a base de agua
Si dedicas cinco minutos a buscar en foros, oirás hablar de la tinta a base de agua. Dicen que es mejor porque es suave al tacto y se limpia con agua. Suena genial hasta que intentas usarla en una habitación de invitados o en el garaje.
Recuerdo haber probado tinta a base de agua para un pedido grande en mi garaje hace años. Llevaba unas veinte camisetas cuando sonó el teléfono. Charlé unos diez minutos, pero no sirvió de nada. La tinta se había convertido en una costra sólida dentro de la malla de la pantalla y no pude salvarla. Fue una pérdida total y un gran dolor de cabeza.
Ese fue el día en que cambié a la tinta plastisol.
Esto no se secará mientras trabajas. Puedes dejar un pegote de Tinta plastisol Shaliteink En tu pantalla, sal a comer un sándwich y estará igual de húmedo cuando regreses. Solo se endurece al aplicarle calor intenso. Esta característica elimina aproximadamente el 90% del estrés para un principiante. Además, si quieres una tinta plastisol azul brillante para serigrafía que realmente se vea azul en una sudadera negra, necesitas el grosor del plastisol.
Alrededor del 65%, muchos comercios profesionales siguen prefiriendo el plastisol porque es fiable y se conserva bien en el estante durante mucho tiempo.
Conseguir la primera impresión correcta
Ya tienes tu kit de tinta para serigrafía de camisetas y estás listo para empezar. Primero, mantén el diseño simple. No intentes imprimir una fotografía compleja en tu primer intento. Usa un logotipo llamativo o un texto claro. Imprime el diseño en una lámina transparente con una impresora normal. Asegúrate de que las partes negras sean muy oscuras. Si se ve luz a través de la tinta negra de la lámina, la pantalla no grabará la imagen correctamente.
A continuación, debes cubrir la pantalla con una capa fina y uniforme de emulsión. Piensa en cómo untarías mantequilla en una rebanada de pan: debe quedar lisa y homogénea, sin grumos. Guárdala en un lugar oscuro mientras se seca, ya que la luz es perjudicial. Si le cae aunque sea un poco de luz sobre la emulsión húmeda, se atascará y tendrás que frotar la pantalla durante una hora para volver a intentarlo.
Cuando llegas a la parte de la exposición, se siente un poco como ciencia. Colocas la película sobre la pantalla y la iluminas con luz ultravioleta. Si la distancia es la correcta, incluso un equipo UV básico o lámparas halógenas potentes pueden hacer el trabajo en pocos minutos. Una vez que lavas la pantalla con agua fría, la emulsión blanda donde estaba tu diseño se derretirá y tendrás una plantilla.
El aspecto económico
¿Merece la pena hacerlo uno mismo? Analicemos las cifras para una tirada de 50 camisetas.
| El costo | Imprenta local | Hazlo tú mismo con Shaliteink |
| Costes de instalación y pantalla | $40.00 | $0.00 |
| Costo por camisa | $12.50 | $5.00 |
| Total para 50 camisetas | $665.00 | $250.00 |
| Ahorro total | $0.00 | $415.00 |
Básicamente, amortizas todo el kit con solo uno o dos trabajos pequeños. Ese tipo de cálculo me parece lógico.
Más allá de lo básico
Una vez que le cojas el truco, puede que te canses de los colores planos. Si vas a imprimir para un gimnasio o un equipo deportivo, deberías usar tinta plastisol elástica para serigrafía. Tiene cierta elasticidad, así que el diseño no se agrietará cuando alguien se ponga la camiseta.
Si quieres que el diseño resalte literalmente en la camiseta, prueba la tinta plastisol para serigrafía con efecto hinchable. Se hincha al contacto con el calor y crea un efecto 3D texturizado. Estos pequeños trucos transforman una camiseta básica y barata en una prenda de diseñador.
Cómo evitar el desastre que hice
Al principio, yo era un desastre andante. Se me ha escapado tinta por la parte inferior de la pantalla y he arruinado un montón de camisas por ir demasiado rápido.
Un aspecto importante a tener en cuenta es el contacto. Asegúrate de que la pantalla no toque la tela al empezar. Debe haber un pequeño espacio entre ambas, quizás del grosor de una moneda pequeña. Al deslizar la espátula, la malla debe volver a su posición original al instante después de que la tinta la atraviese. Ese ligero movimiento es lo que garantiza que las líneas se vean nítidas y no borrosas.
Recuerda también que el plastisol no se seca al aire. Da igual que lo dejes una semana, porque no estará seco hasta que alcance los 160 °C. La mayoría de los profesionales usan un secador de flash, pero si estás en casa, una pistola de calor funciona si tienes paciencia. Si no lo curas, tu precioso diseño desaparecerá con el primer lavado.
Preguntas frecuentes
P1: ¿Provoca mucho desorden?
A: Sí, puede ocurrir si no tienes cuidado. Probablemente te caiga una pizca en tus vaqueros favoritos en algún momento. Ten a mano un rollo de papel de cocina y toallitas húmedas, pero la verdad es que eso forma parte de su encanto.
P2: ¿Puedo imprimir en algo más que camisetas?
No tienes por qué limitarte solo a camisetas. Sudaderas con capucha, bolsos e incluso paneles de madera planos funcionan de maravilla. Siempre que la superficie sea plana y pueda soportar un poco de calor para fijar la tinta, no tendrás ningún problema. Si imprimes sobre un material oscuro, aplica una capa de blanco. Tinta de serigrafía NB sin PVC Primero, para que los colores se mantengan brillantes.
P3: ¿Cómo limpio la pantalla?
Esa es la mejor parte del plastisol. Simplemente raspas la tinta sobrante y la vuelves a meter en el cubo para usarla después, así que casi no hay desperdicio. Luego usas un limpiador de pantallas para eliminar los residuos. Para quitar la emulsión y empezar de nuevo, necesitarás un removedor de emulsión.
P4: ¿Puedo usar una luz normal para quemar la pantalla?
Técnicamente sí, pero tardarás muchísimo y los resultados no serán nítidos. Invierte en un foco UV $20, te ahorrará horas de frustración.
P5: ¿Cuánto tiempo se conserva bien la tinta?
Si mantienes la tapa puesta, un cubo de tinta para serigrafía al por mayor puede durar años. No se estropea como la leche y está listo para que vuelvas a dar rienda suelta a tu creatividad.
El veredicto
El mayor error que veo es que la gente espera a tener un espacio de trabajo perfecto. No necesitas una fábrica, pero sí un kit, un rincón oscuro y un cubo de tinta de buena calidad. La serigrafía es uno de los pocos pasatiempos que se pueden amortizar en pocos días. Ya sea que hagas camisetas para una marca o simplemente para tus amigos, nada supera la sensación de levantar la pantalla y ver una impresión perfecta por primera vez.
Ve a buscar un Kit para principiantes de tinta de impresión NB Encuentra un color que te haga feliz y empieza a crear algo real. El resto lo irás descubriendo sobre la marcha.
 EN
EN  DE
DE  ES
ES  PT
PT  JA
JA